What to do this week –
By Mark Govan, Host “Florida Gardening“
![]() Gardening in the fall and winter is something everyone should try. Temperatures are cooler and there are many plants that we should be trying in our gardens. Best of all, the pests and diseases we have been fighting during the summer months are mostly gone. In this article, I would like to go over a few plants that you should be growing in the garden now. I think I will call these plants the three c’s, Carrots, Cabbage, and Collards. All of these vegetables are ready to be planted in the garden now, and they will keep producing a bounty for you throughout the winter months. There are several tricks in growing these crops I have learned to use, and I would like to share these tips with you. All of these plants are easy to grow even for first-time gardeners, so let’s get started.
Gardening in the fall and winter is something everyone should try. Temperatures are cooler and there are many plants that we should be trying in our gardens. Best of all, the pests and diseases we have been fighting during the summer months are mostly gone. In this article, I would like to go over a few plants that you should be growing in the garden now. I think I will call these plants the three c’s, Carrots, Cabbage, and Collards. All of these vegetables are ready to be planted in the garden now, and they will keep producing a bounty for you throughout the winter months. There are several tricks in growing these crops I have learned to use, and I would like to share these tips with you. All of these plants are easy to grow even for first-time gardeners, so let’s get started.
The first thing I would like to mention about any garden is that when you start with a good soil base, then you will have a great bounty. A good base for vegetable gardening is a deep rich bed full of organic materials including Black Kow, peat, perlite, fertilizer, and dolomite. The one thing you should always do for any garden is to prepare your soil with the nutrients that plants love. When you start with great soil, your plants will reward you with a rich supply of vegetables for your table.
My perfect garden soil is easy to create and here is what you will need to prepare a raised five by five garden bed. Start by making a box out of 2×8 lumber. Each side should be five feet long. Make sure the box you create is placed in the full sun. Next, you will need to add your soil mix. I start with compost or at least eight bags of peat. I use a product called Fafard #4 which comes in three cubic feet bags. The next thing you will need is two; three cubic feet sized bags of perlite. You will also need three large bags of Black Kow. Finally, I will add four pounds of an 8-10-10 granular fertilizer and a couple of pounds of dolomite. Mix all these ingredients together in the five by five planting box and get ready to do some serious vegetable gardening. Do your best not to compact the soil. This size garden is perfect to start with and you can add to it every year if you need more room. .
The first plants we are going to add into the garden are carrots. Carrots are a favorite of mine, and I have grown many varieties over the years. There are skinny types, fat varieties, and even some carrots that you may not recognize. The best things about carrots are they are easy to grow from seed and are relatively trouble free. Most garden centers will carry several varieties of carrots, and I recommend you try as many as you like. Some of the varieties you can look for are the Danvers, Imperator, and Nantes. However, these are just a few of the choices so have a little fun picking out varieties you have not grown before.
Once the new garden is level and loosely packed, dig a small trench about a foot from the side of the garden. The trench should be no more than one-half inch deep. You can do this on both sides of the garden so you will have two rows. Sprinkle the seeds in the small trench. You will need about three seeds per inch. Cover the seeds sparingly with soil making sure they are no more than one-half inch deep and place a marker in the row to remind you of your plant date and the variety you have sown. Water the row slightly with a sprinkling can.
Carrots will sprout in about two and a half weeks. When the carrots reach about two inches in height, you will need to thin the crop. Remove any unhealthy carrots leaving only one for every two inches. When the carrots reach four inches, thin them again to one carrot every three inches. When thinning, remove the carrots carefully and plant these in spots that you did not get any to grow. Fertilize every ten days with Miracle grow or Peters plant food at one-half strength. Carrots will be ready for picking in about eighty days.
Cabbage is another crop you just have to try right now! I like cabbage because of the many choices you have in leaf texture and color. Instead of having totally green rows, I try to include varieties which will add color to my garden and dimension to my plate. Choose cabbage cultivars such as Gormet or Market Prize for the standard large head green varieties, and then inter-mix your plantings with the red Ruby Perfection variety. These cultivars grow well together, but as they mature, the color they give off will be rewarding. If you did not start your seedlings as I had suggested several weeks ago, then you will need to obtain starter plants from your local nursery or garden center and plant them in the middle of your garden about fifteen inches apart. Be sure to leave at least two feet between rows. I like to plant at least ten heads, but you will need to determine the number you plant based on the size of your garden.
One of the tricks I have learned about cabbage is that you do not necessarily have to plant them all at once. Unless you really like coleslaw or sauerkraut, you may not need to plant so many heads. If you stagger the planting of the cabbage, then you can prolong the harvest by a month or two. When you plant them all at once, the heads will all ripen at the same time so you may want to space them out planting every fifteen days or so.
Remember, cabbages have shallow root systems, so they need to be watered regularly. A light layer of mulch will help keep the plants hydrated especially if we get a warm spell in November or between watering. As the cabbage heads begin to mature, be sure to monitor the moisture level of your soil because many cabbage heads will crack or split due to the lack of adequate water. Once your cabbage is ready to harvest (about eighty days), remove the head from the base of the plant using a sharp knife. Leave the lower portion of the stem of the plant intact. Sometimes, you may get a second or third head to form after removing the main head.
Collard Greens and Mustard Greens are also easy to grow favorites of many gardeners. Collards grow quickly from transplants available at most garden centers. Look for cultivars such as Georgia, Vates, or the hybrid HiCrop. Collard leaves closely resemble cabbage however; some leaves are smooth while others are waxy. Plant your collards in full sun and make sure you mulch to retain moisture. I plant my collards in rows about fifteen inches apart, and if I use different varieties, I will group them together as some varieties grow larger than others. You only need about ten plants to provide enough for the average family as collards will continue to produce for several months. If you are using the garden model, I presented above, you may need two rows to accommodate ten plants.
Collards are ready to harvest in about six weeks after planting. Remove the lower leaves as they reach the full size. The younger leaves will continue to grow producing enough new leaves for use every seven to ten days. Cooler weather tends to give the collards a better taste so if you plant now you should have several great harvests through the end of the year. Make sure you always wash your collards before using them to remove any dirt or insects you might not see.
Mustard Greens are similar to Collards but they grow much faster. You should be ready to harvest your first leaves within thirty days after transplanting them into the garden. Look for cultivars such as the Green Wave or Florida Broadleaf. There is also a red variety called Giant Red but they are hard to find in transplants. Plant your Mustard Greens about six inches apart but leave at least fifteen inches between the rows. I like to plant seven to ten starter plants in order to harvest enough leaves for a good meal. Mulch your plants just like the collards and water regularly. Harvest well-formed leaves from the lowest part of the plant and allow the new leaves to continue growing. You should be able to harvest your plants every seven days. If left in the ground after the season is over, then your plants will go to seed, and you may get volunteers to come up in the spring.
The garden I have laid out here is easy to prepare and the plants I have chosen should give you a lot of fun watching them grow. You will still have to monitor your plants for insects and diseases but hopefully, you will not have many during the fall. Space out your plantings accordingly to prolong your harvest and at the end of the year you may want to expand your small patch. Use the same directions I gave you above to add onto your garden. Good luck, happy gardening, and remember, without plants, we would not be here!
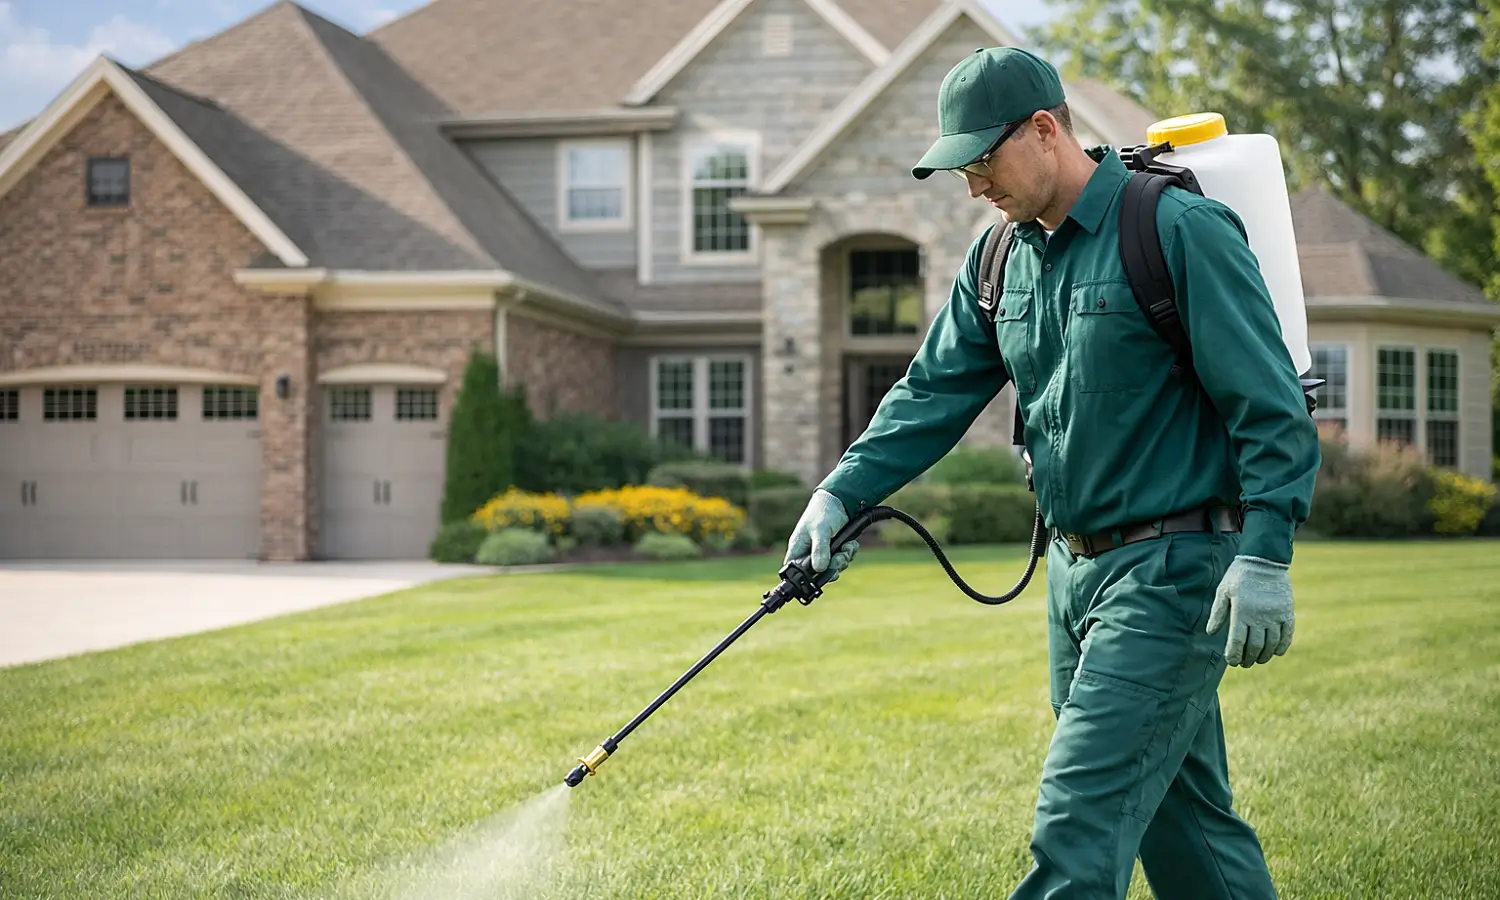
ABC Pest Control, Inc.
Family-Owned Since 1985
Trusted by thousands of Tampa Bay homeowners, our licensed technicians provide honest assessments and effective treatments across Hillsborough, Pinellas, Pasco, and Manatee counties.